
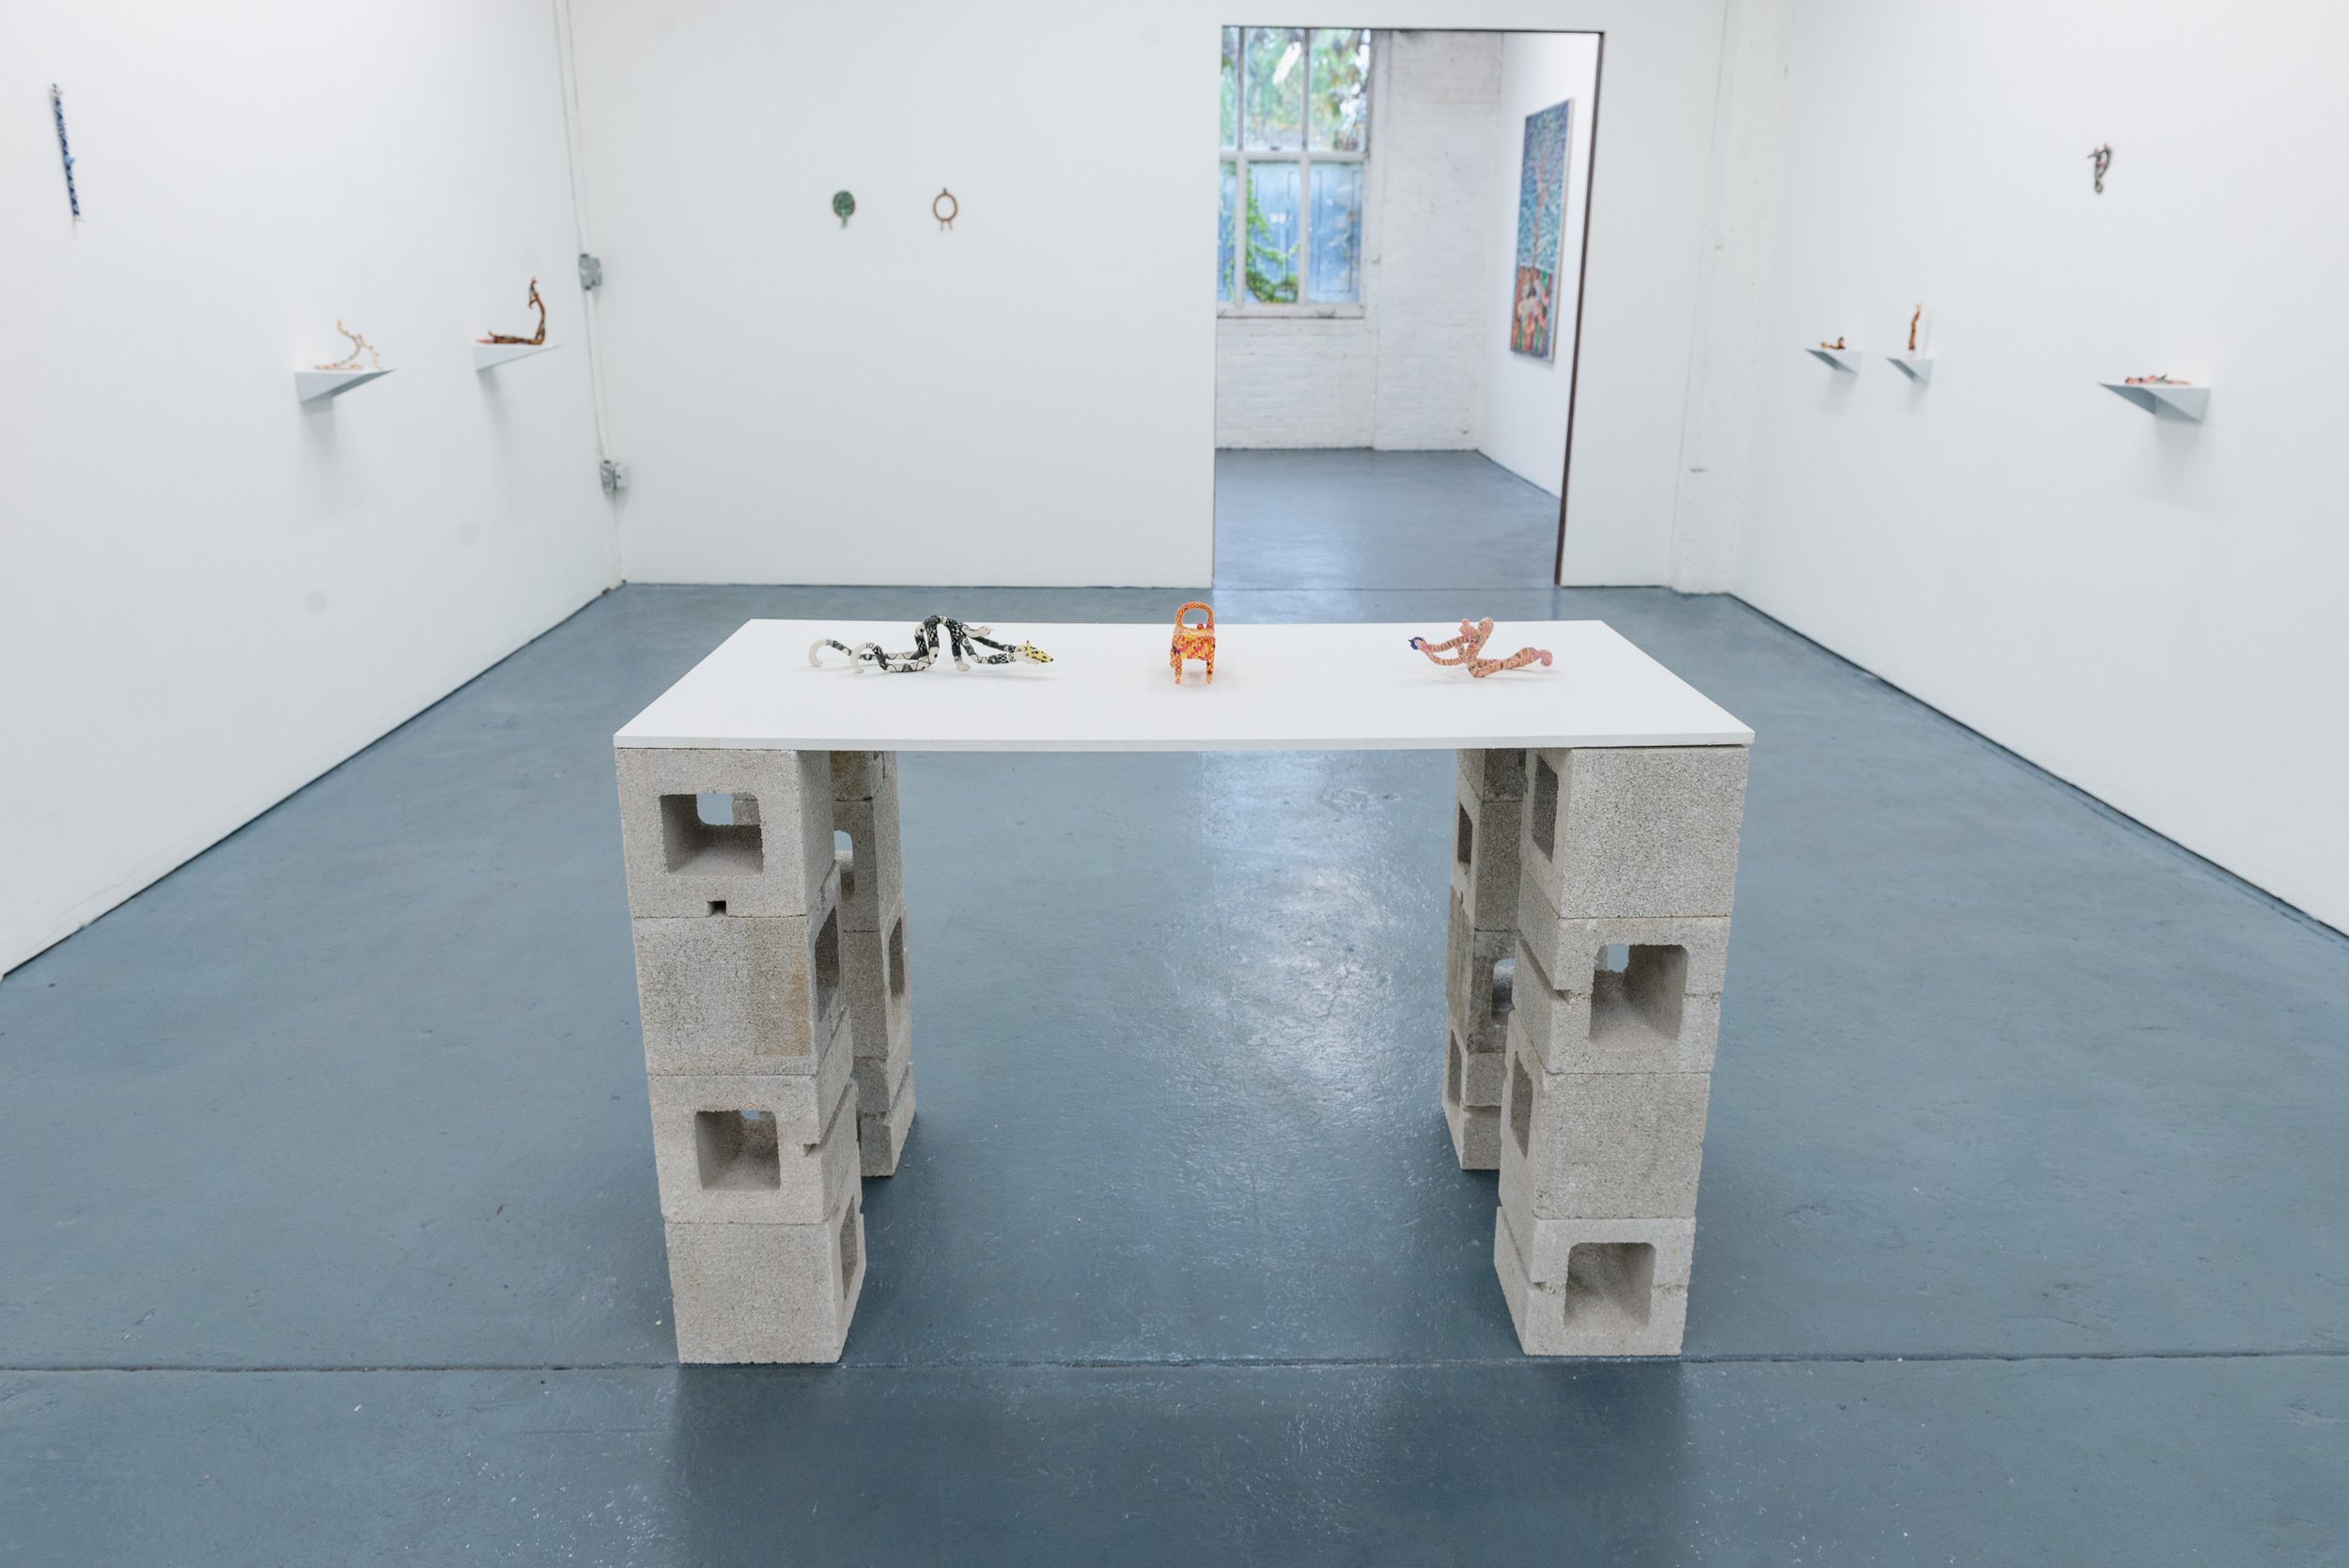
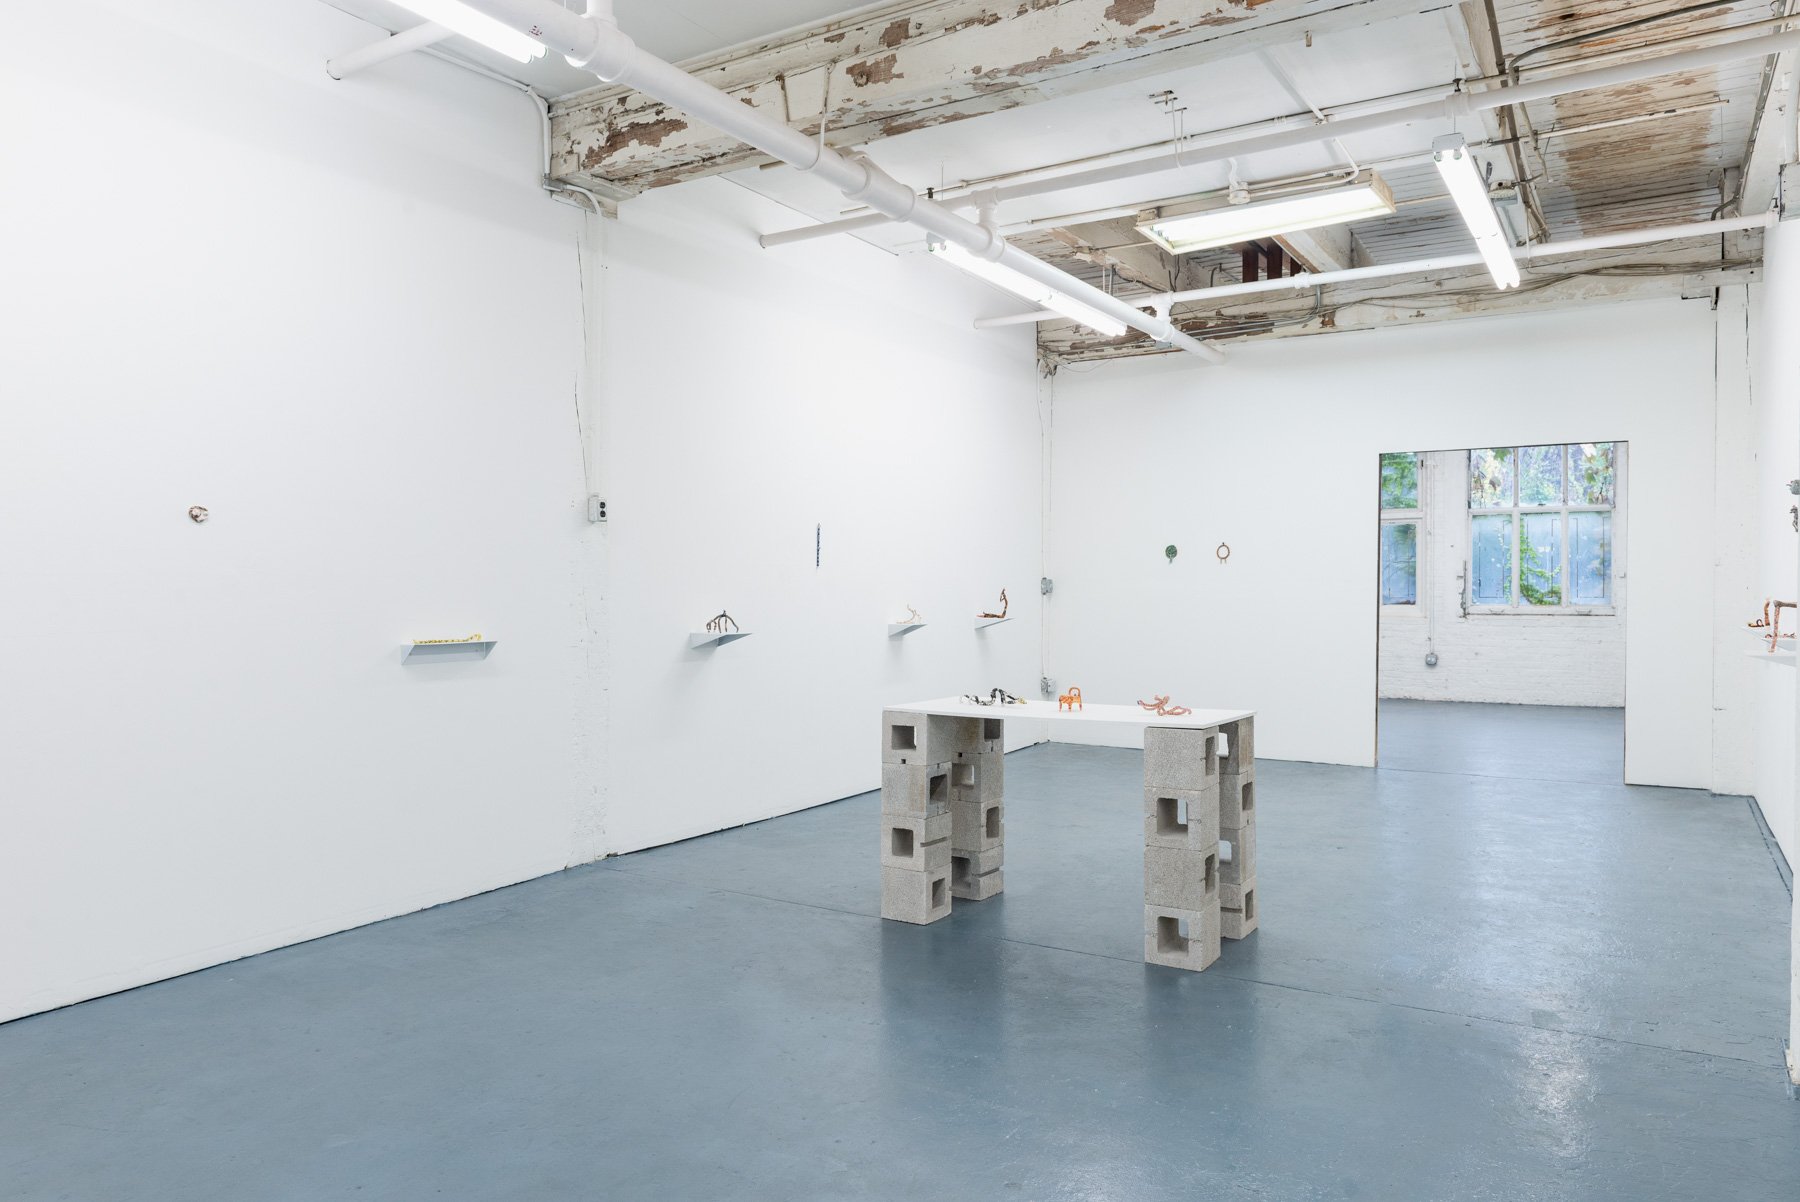
"Play the Fool" solo exhibition @ Goldfinch Gallery, Chicago
installation view
photographed by Ryan Edmund
"Play the Fool" solo exhibition @ Goldfinch Gallery, Chicago
installation view
photographed by Ryan Edmund
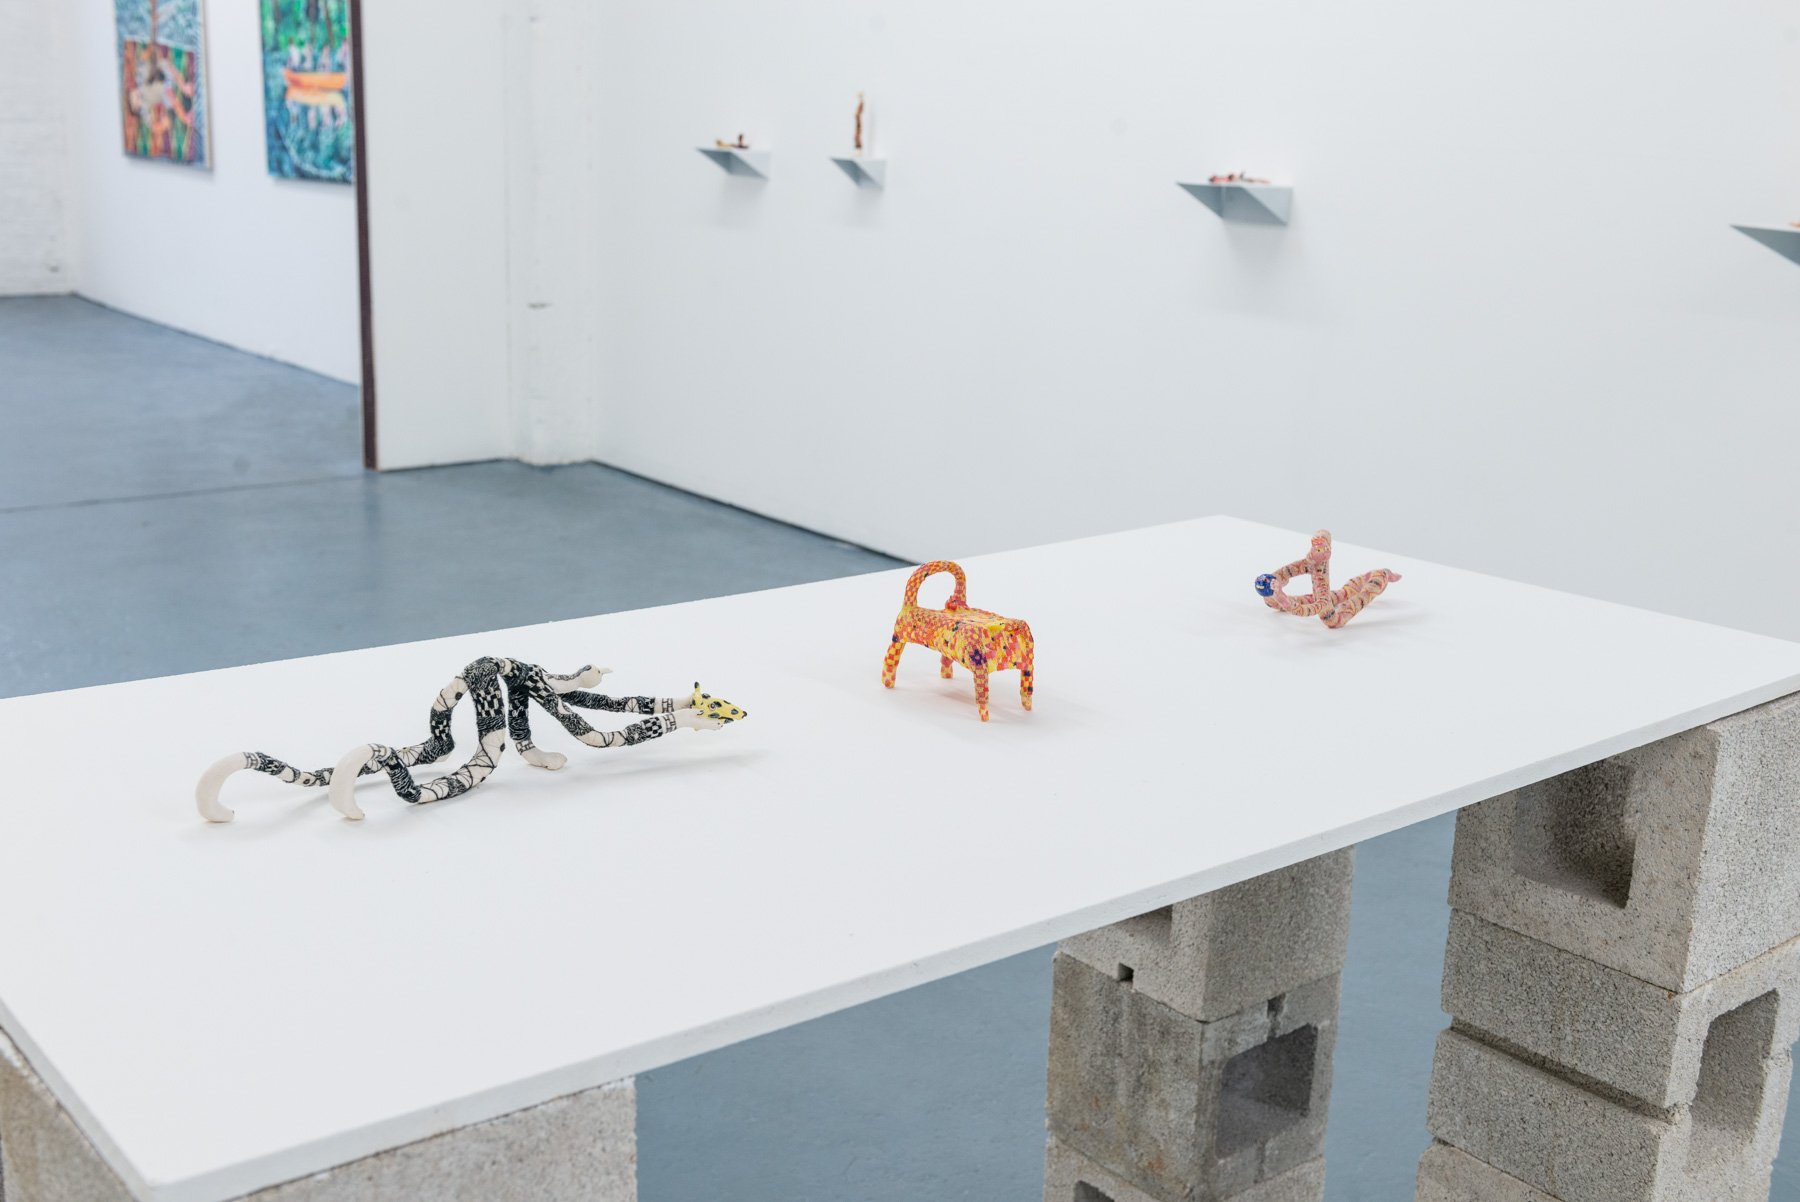
"Play the Fool" solo exhibition @ Goldfinch Gallery, Chicago
installation detail of central table
photographed by Ryan Edmund
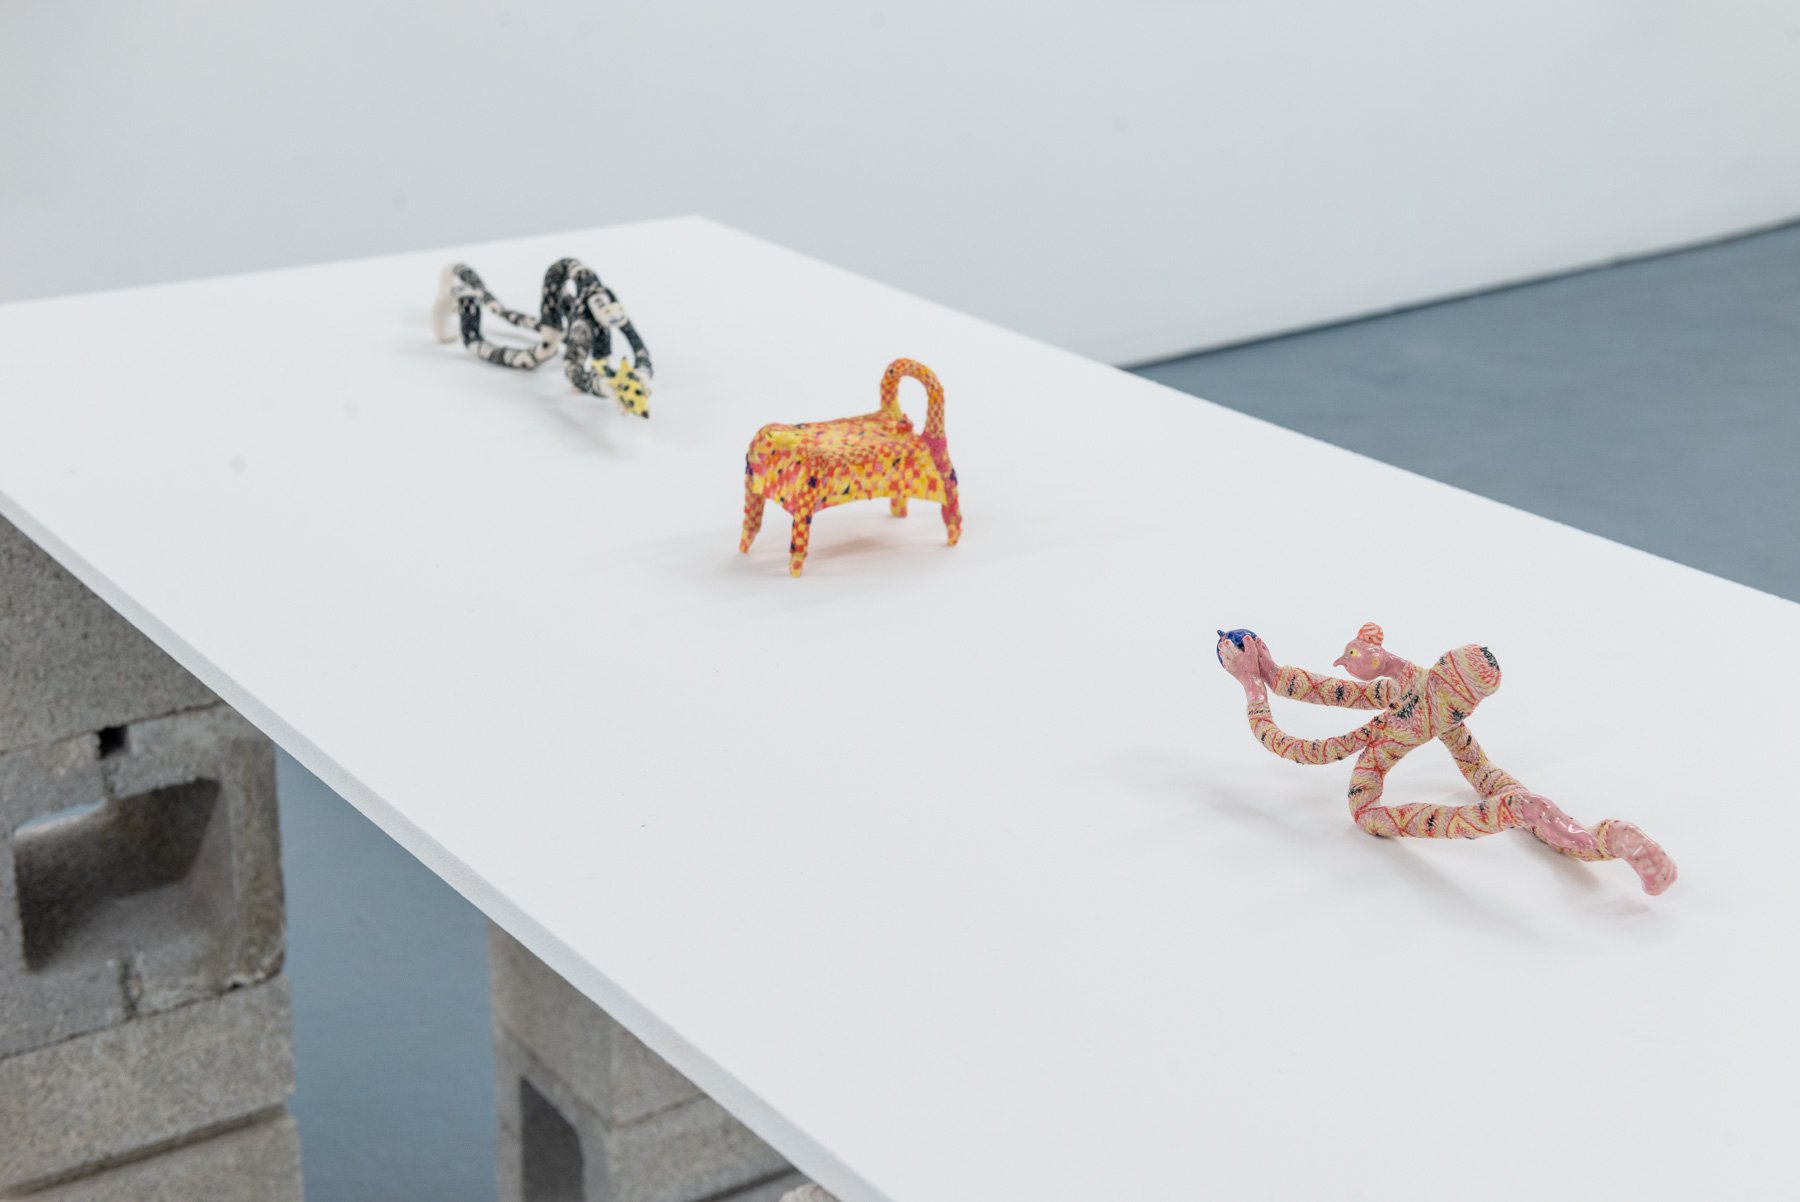
"Play the Fool" solo exhibition @ Goldfinch Gallery, Chicago
installation detail of central table
photographed by Ryan Edmund
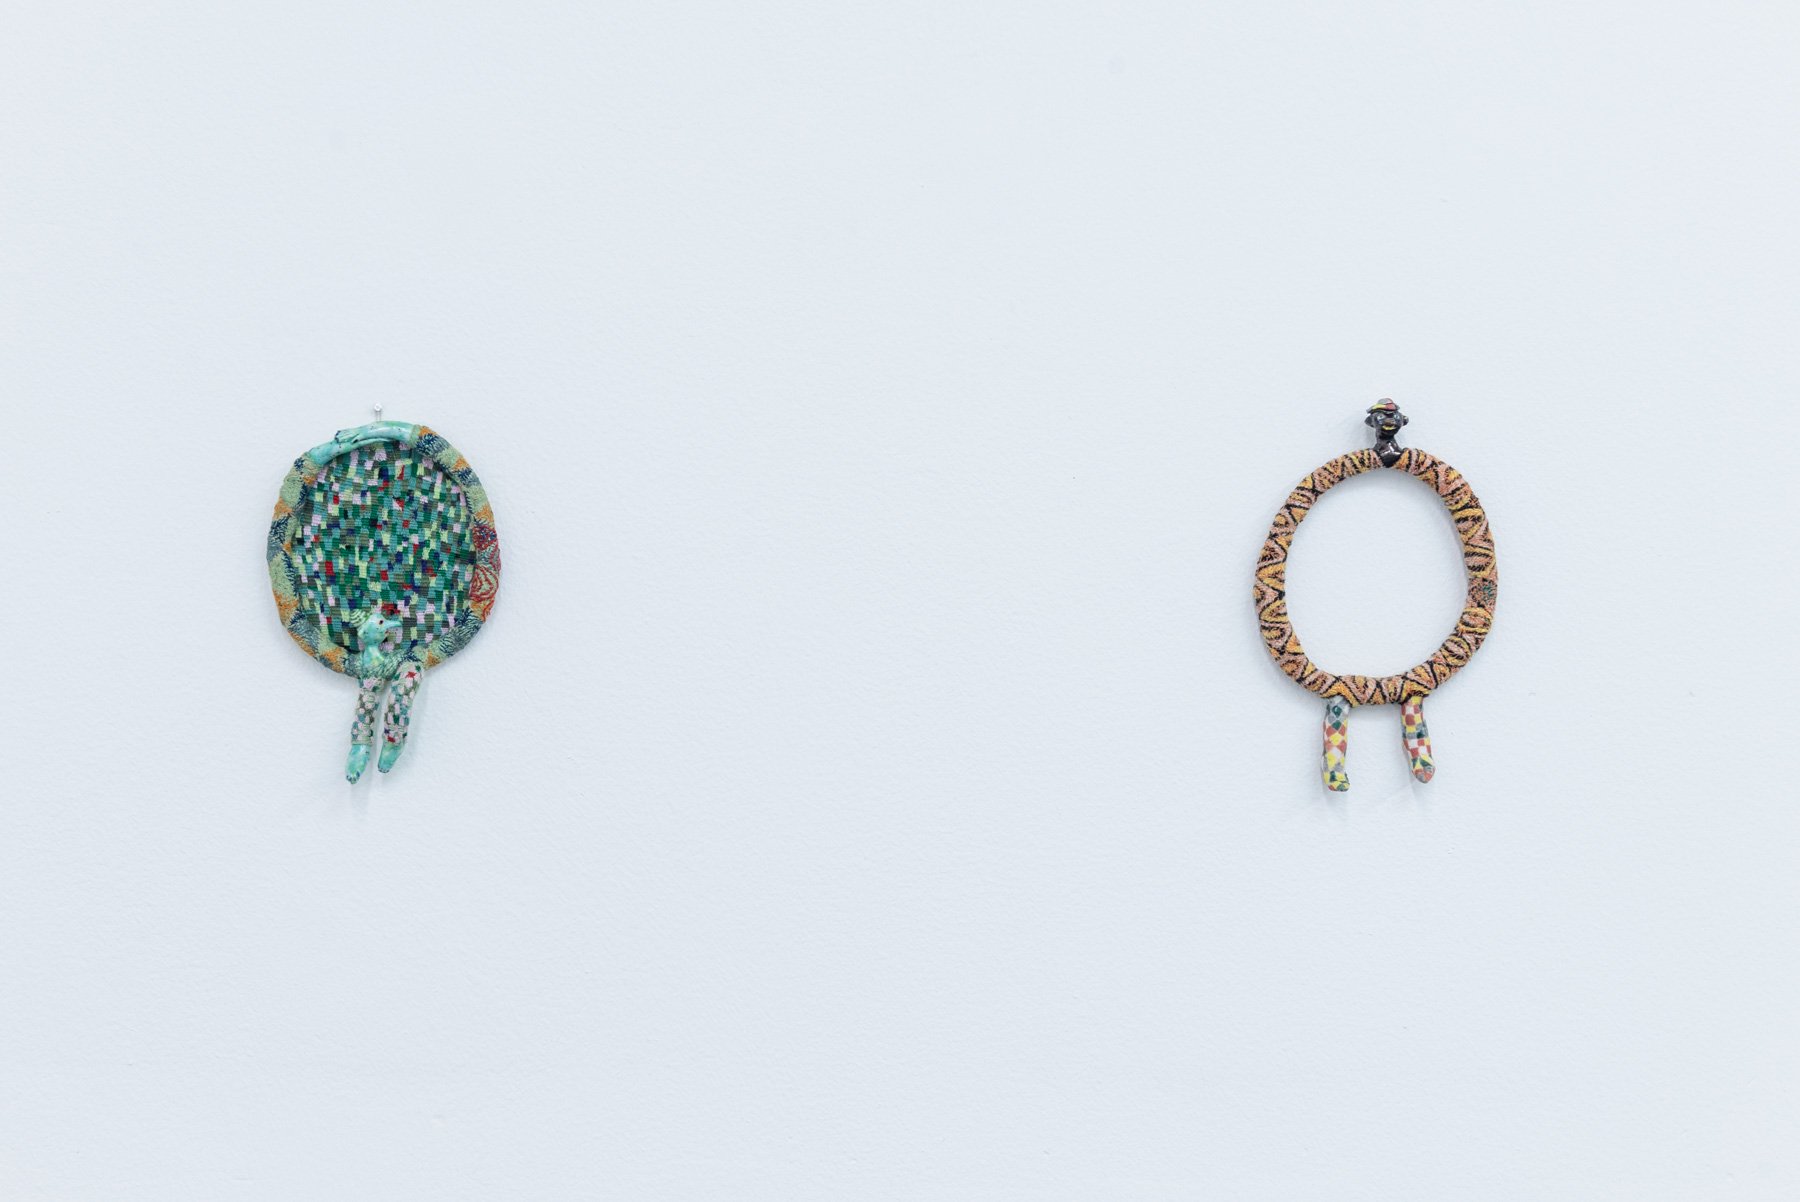
"Play the Fool" solo exhibition @ Goldfinch Gallery, Chicago
installation detail of two wall-hanging works
photographed by Ryan Edmund
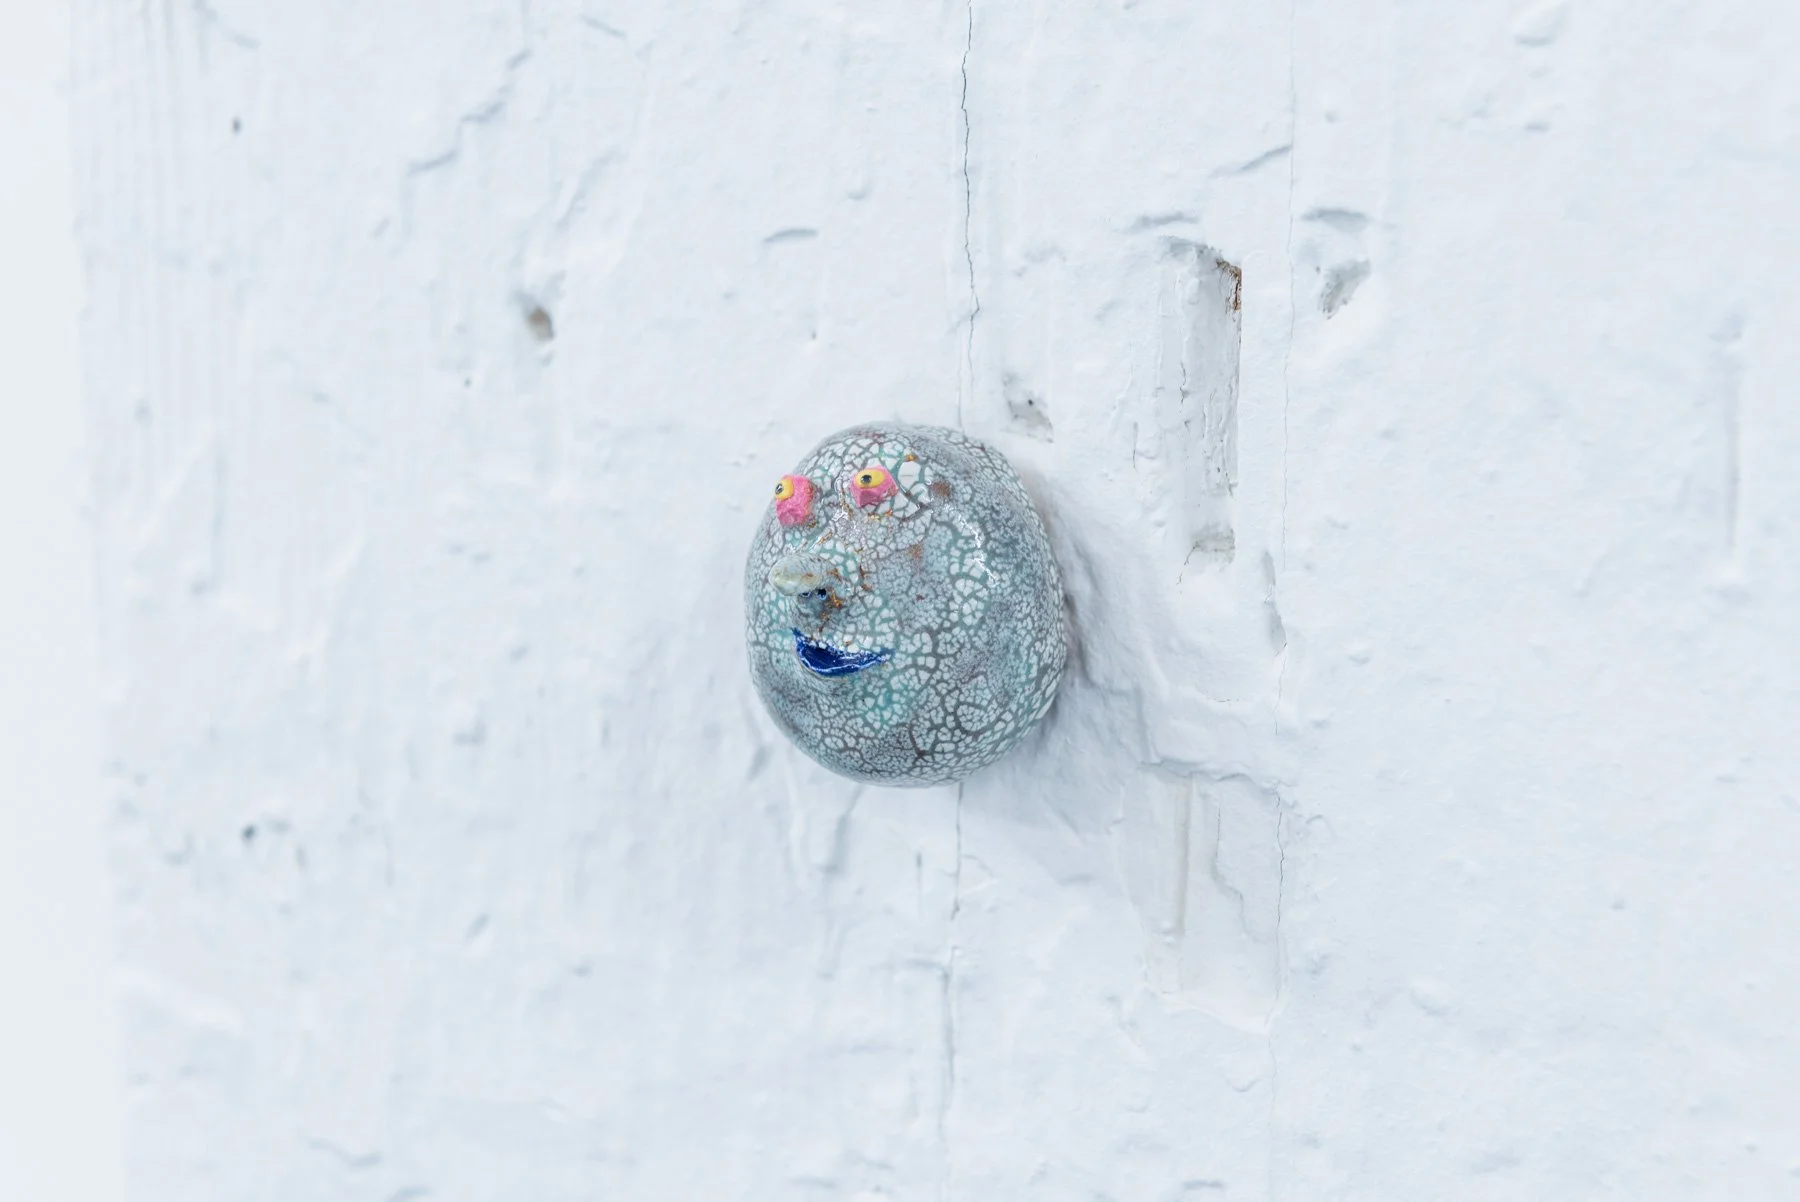
"Play the Fool" exhibition @ Goldfinch Gallery, Chicago
installation detail: small porcelain mask on the wall
photographed by Ryan Edmund
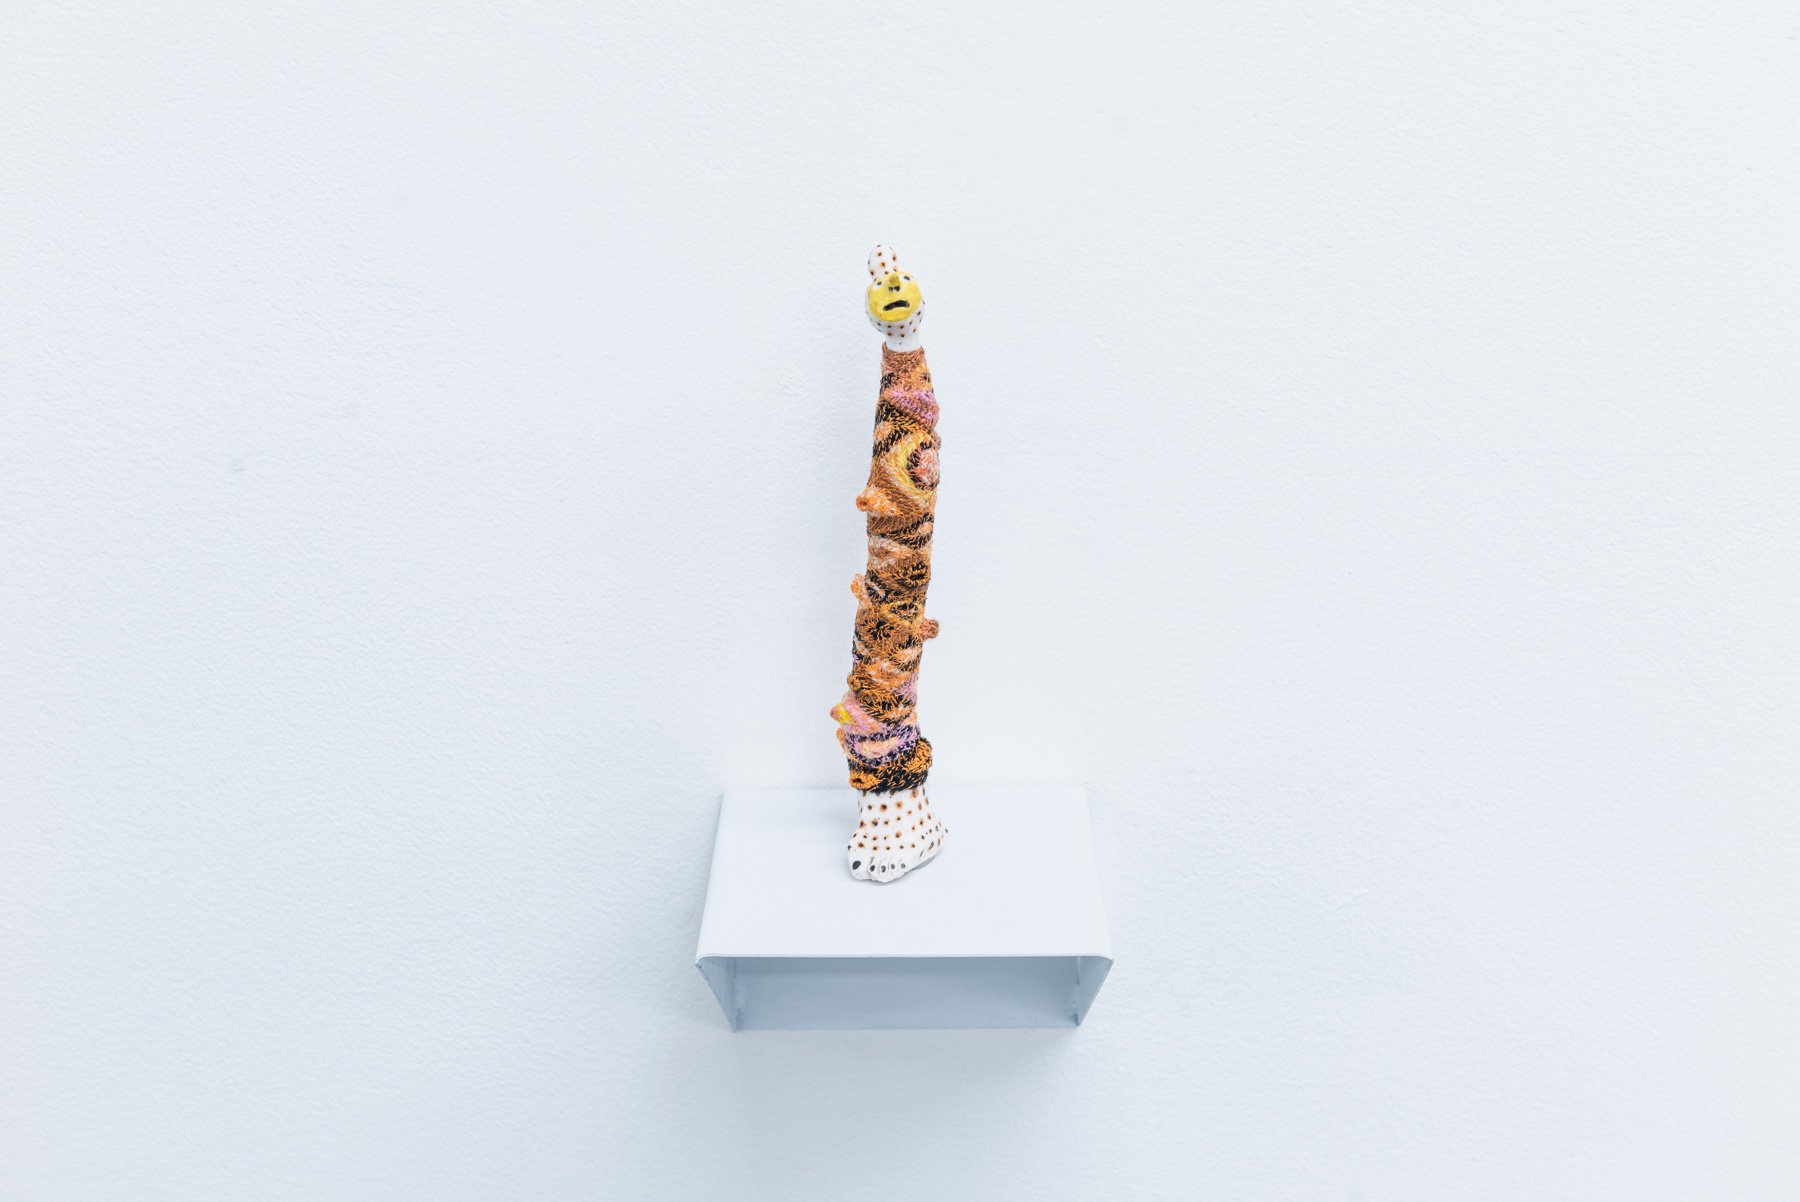
"Play the Fool" solo exhibition @ Goldfinch Gallery, Chicago
installation detail: sculpture on artist-made steel shelf
photographed by Ryan Edmund
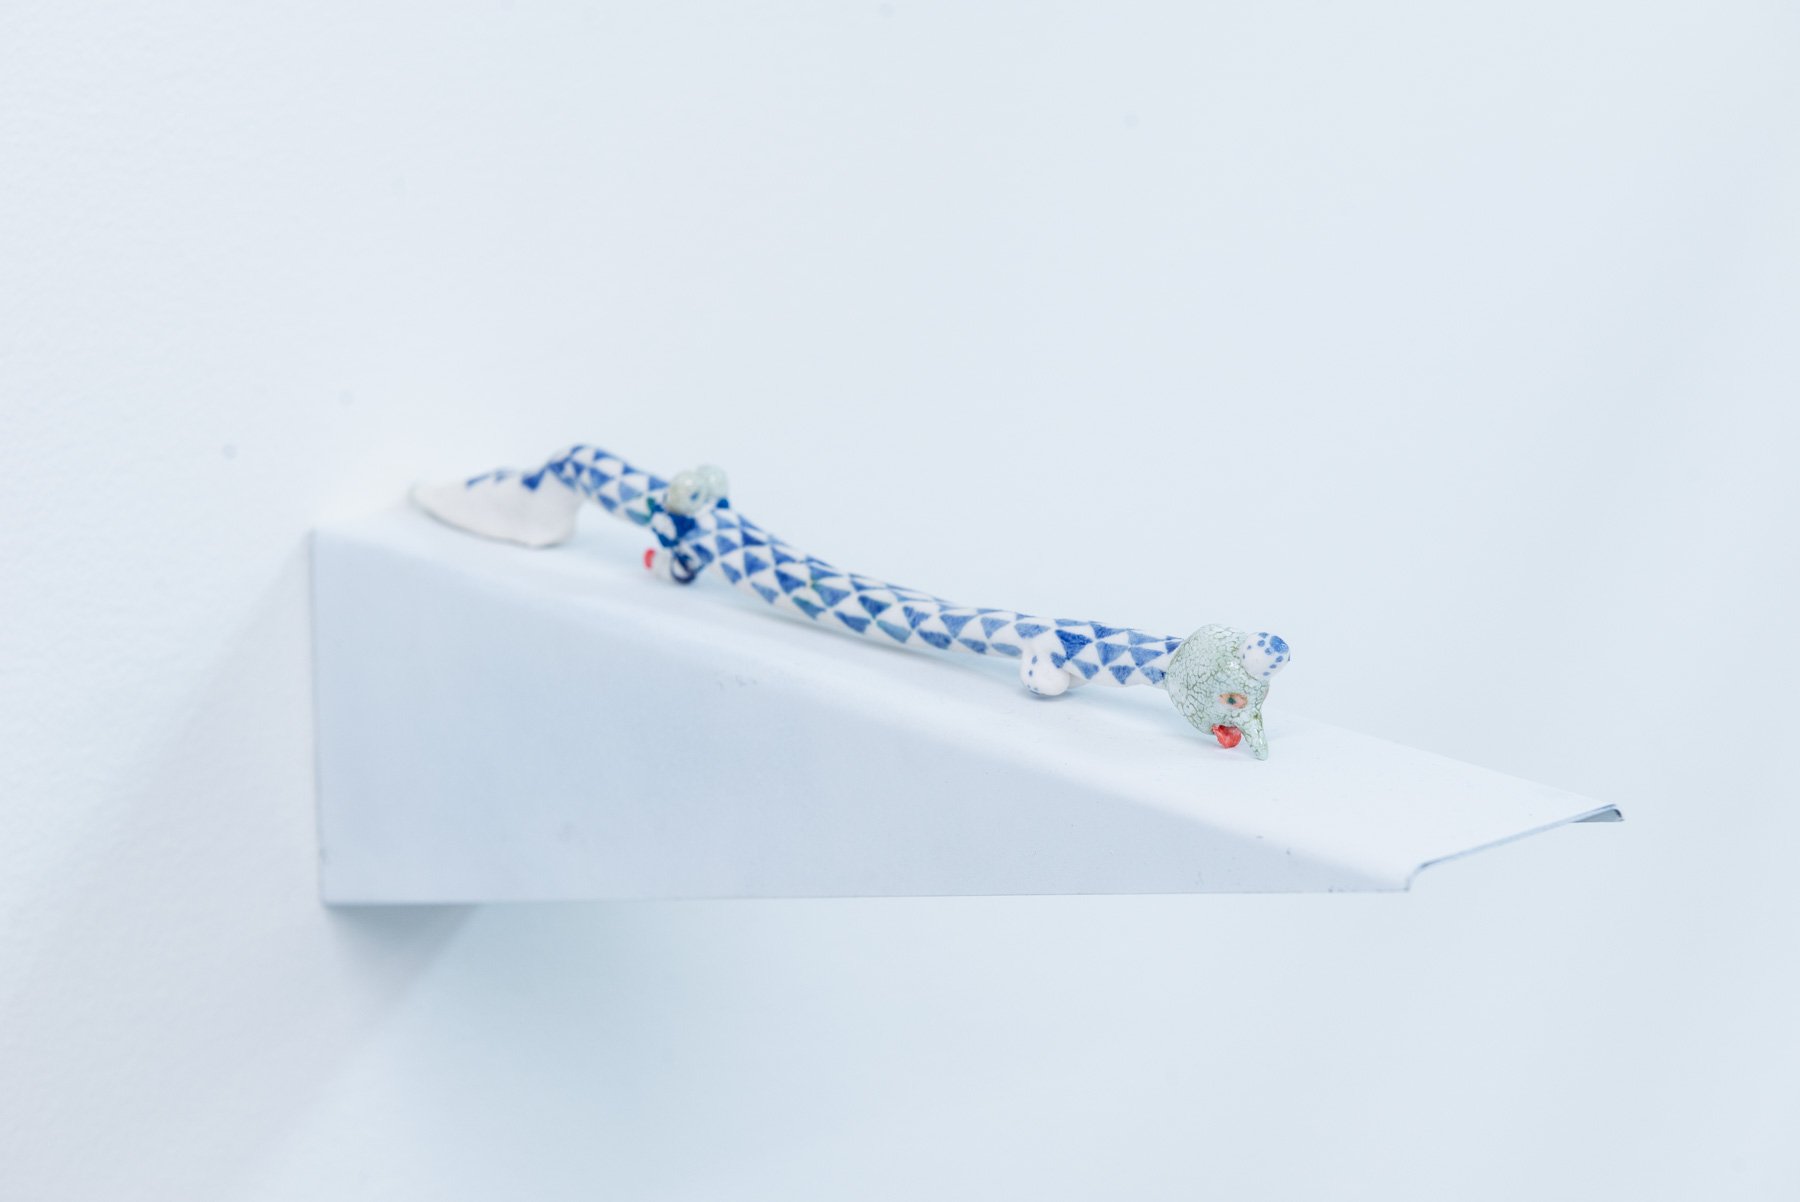
"Play the Fool" solo exhibition @ Goldfinch Gallery, Chicago
installation detail: sculpture on artist-made steel shelf
photographed by Ryan Edmund
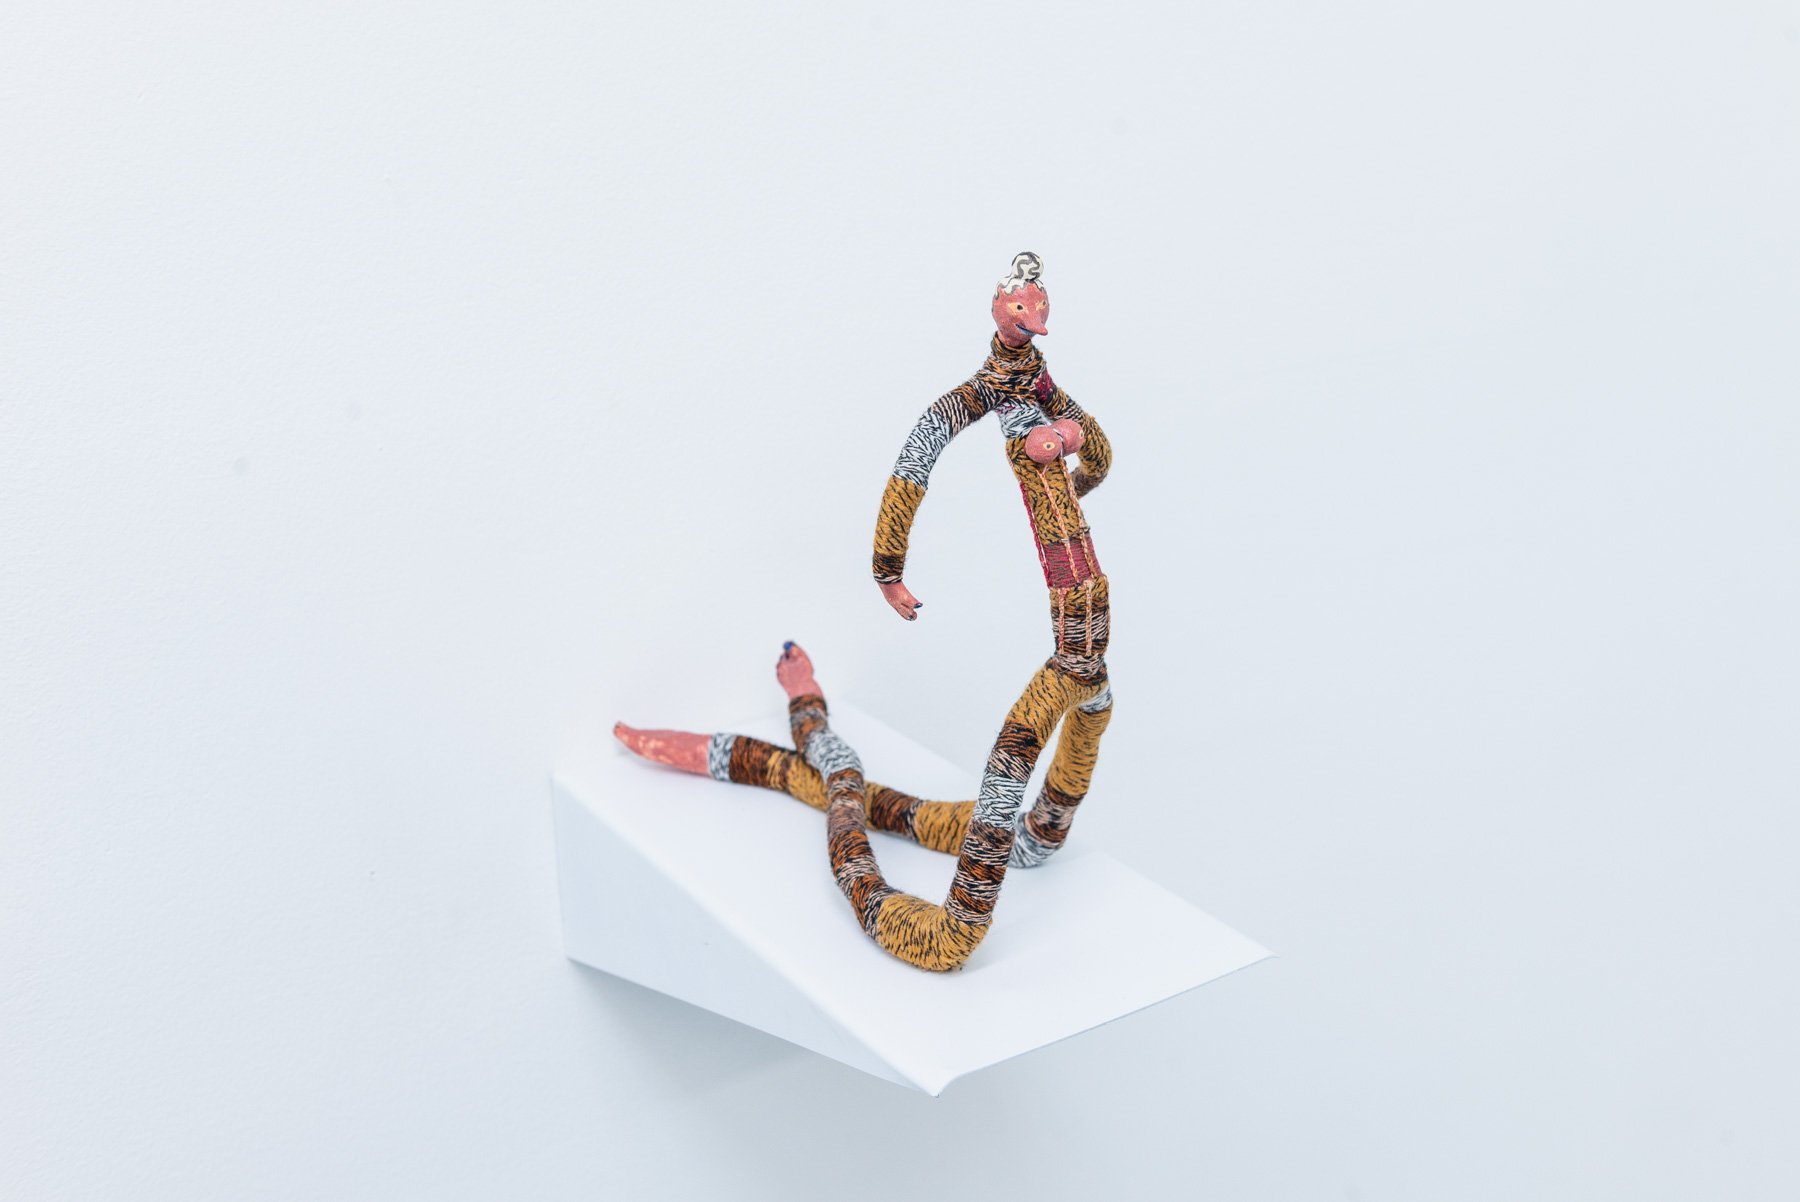
"Play the Fool" solo exhibition @ Goldfinch Gallery, Chicago
installation detail: sculpture on artist-made steel shelf
photographed by Ryan Edmund
"Play the Fool" solo exhibition @ Goldfinch Gallery, Chicagoi
installation view
photographed by Ryan Edmund